How to Make an ASU Website
This is a guide to make an HTML website that will be hosted on an ASU server
Project maintained by AstroWanders Hosted on GitHub Pages — Theme by mattgraham
Why should you make a website?
Networking! When collaborators, peers, etc. Google your name after meeting you at a conference or reading your paper, your website should be one of the first results.
What goes on a website?
While your website can be a digital CV, you can also add links to publications, abstracts, etc. Many grad students also include sections for “Recent News” (e.g., I got a grant for X, Y, Z!) or “Hobbies” (e.g., photography).
What is an ASU public website?
All grad students, postdocs, and faculty members have a dedicated URL: http://www.public.asu.edu/~(your ASU ID)/. I will show you how to set this up below.
When you change institutions, it will be trivial to transfer your website.
How do you upload material onto your ASU public website?
1. Ensure that your Personal Webpage Hosting subscription is active.
If you tried to access your URL previously and received an error, the following should ameliorate that.
a. Go to www.asu.edu/selfsub/
b. If Personal Webpage Hosting is listed as “Active”, proceed to the next step, #2.

c. If Personal Webpage Hosting is not active, then simply click it at the bottom of the webpage and subscribe to it. More information is available here.
2. Check out your website: http://www.public.asu.edu/~(your ASU ID)/
Since you have yet to upload material onto your website, but you have an active webpage subscription, the following will appear
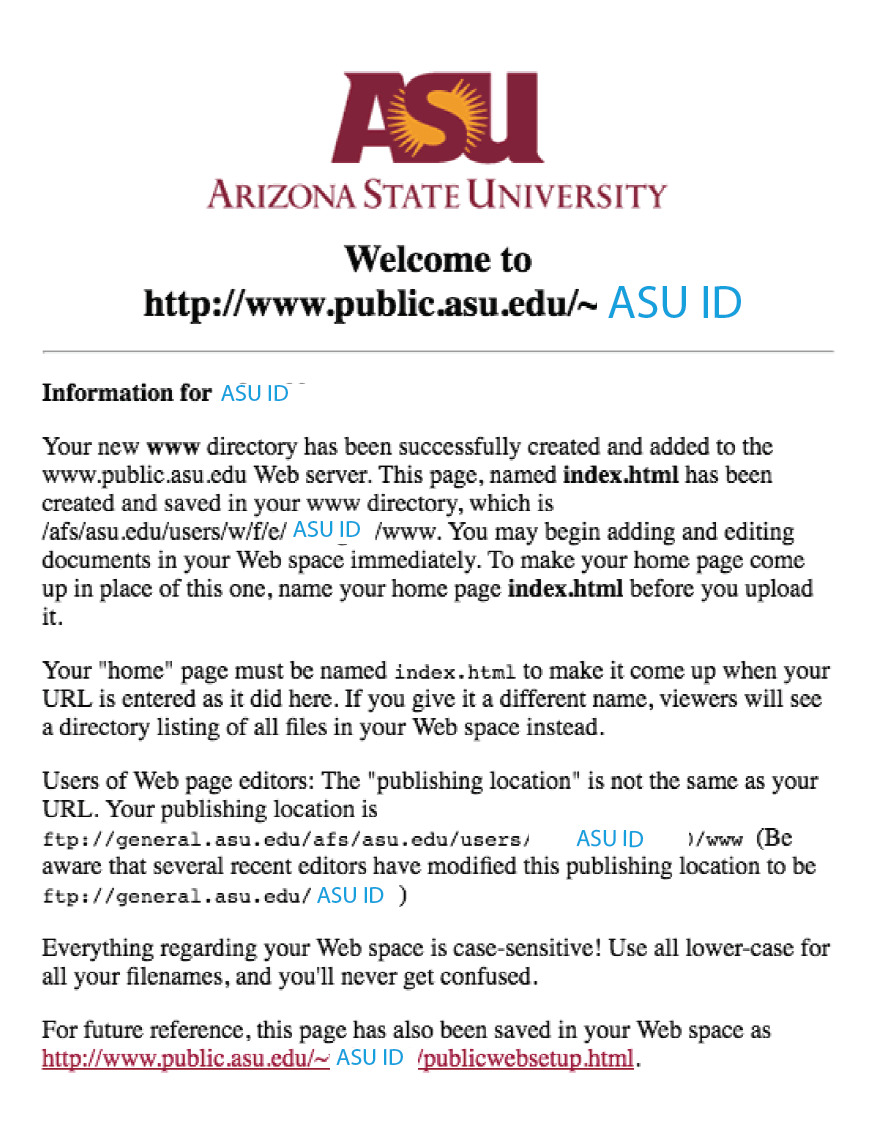
We will make note of these instructions for later.
3. Make your website!
This is the fun part! Your website can be anything you want, and now you are working with a blank canvas.
a. Pick your favorite template and download it.
While you can start from scratch with HTML5, in the interest of time - Don’t you have research to do and papers to publish? - we will proceed with templates here.
- Free HTML5 website templates are available here: Styleshout
- Free CSS3 website templates are available here: CSS3
There are, of course, many other free templates available on the interwebs. Be sure to credit these sources - You do not want to get into sticky copyright infringement situations.
You may want to look at websites of other SESE grad students for inspiration:
For this guide, we will download the Kreo template from Styleshout. This template has been popular amongst grad students of all disciplines and institutions.
b. Take a look around the folder that you just downloaded.
Unzip the Kreo folder in your local Downloads folder. You should find the following folders/files, each serving a specific purpose.
| Folder/File | Purpose |
|---|---|
| css | CSS stands for “Cascading Style Sheets”. The css files in this folder define style definitions in this template. You will edit main.css to define the directory your background image is in later. |
| favicon.png | This is the icon that will appear on your browser, like the blue one on this one.  |
| fonts | As you can gather from the name, this folder contains fonts that will appear on your website. It is not necessary to alter this folder. |
| images | This is where you will place images that will appear on your website. |
| inc | There is only one file in this folder: sendEmail.php This is intended for the “Contact” section of your website. |
| index.html | This is the main document - what you want viewers to see. We will be editing this file in the next step. As noted in the instructions for your ASU public website, you will want to upload your homepage as index.html, so do not change the filename. |
| js | JS stands for “JavaScript”. The js files in this folder serve functions such as opening links in new tabs, etc. It is not necessary to alter this folder. |
| readme.txt | This file describes the template, but does not provide instructions. |
You can open index.html in your favorite browser to take a look at the template.
c. Edit the template.
There are many ways to edit the Kreo template. I like Adobe Dreamweaver because you can also use it to connect to a remote server, which will need to do in the next step to publish your website. Dreamweaver comes with an Adobe Creative Cloud subscription, or you can download a free trial here. This is what index.html should look like when you open it in Dreamweaver, set to “split” screen:
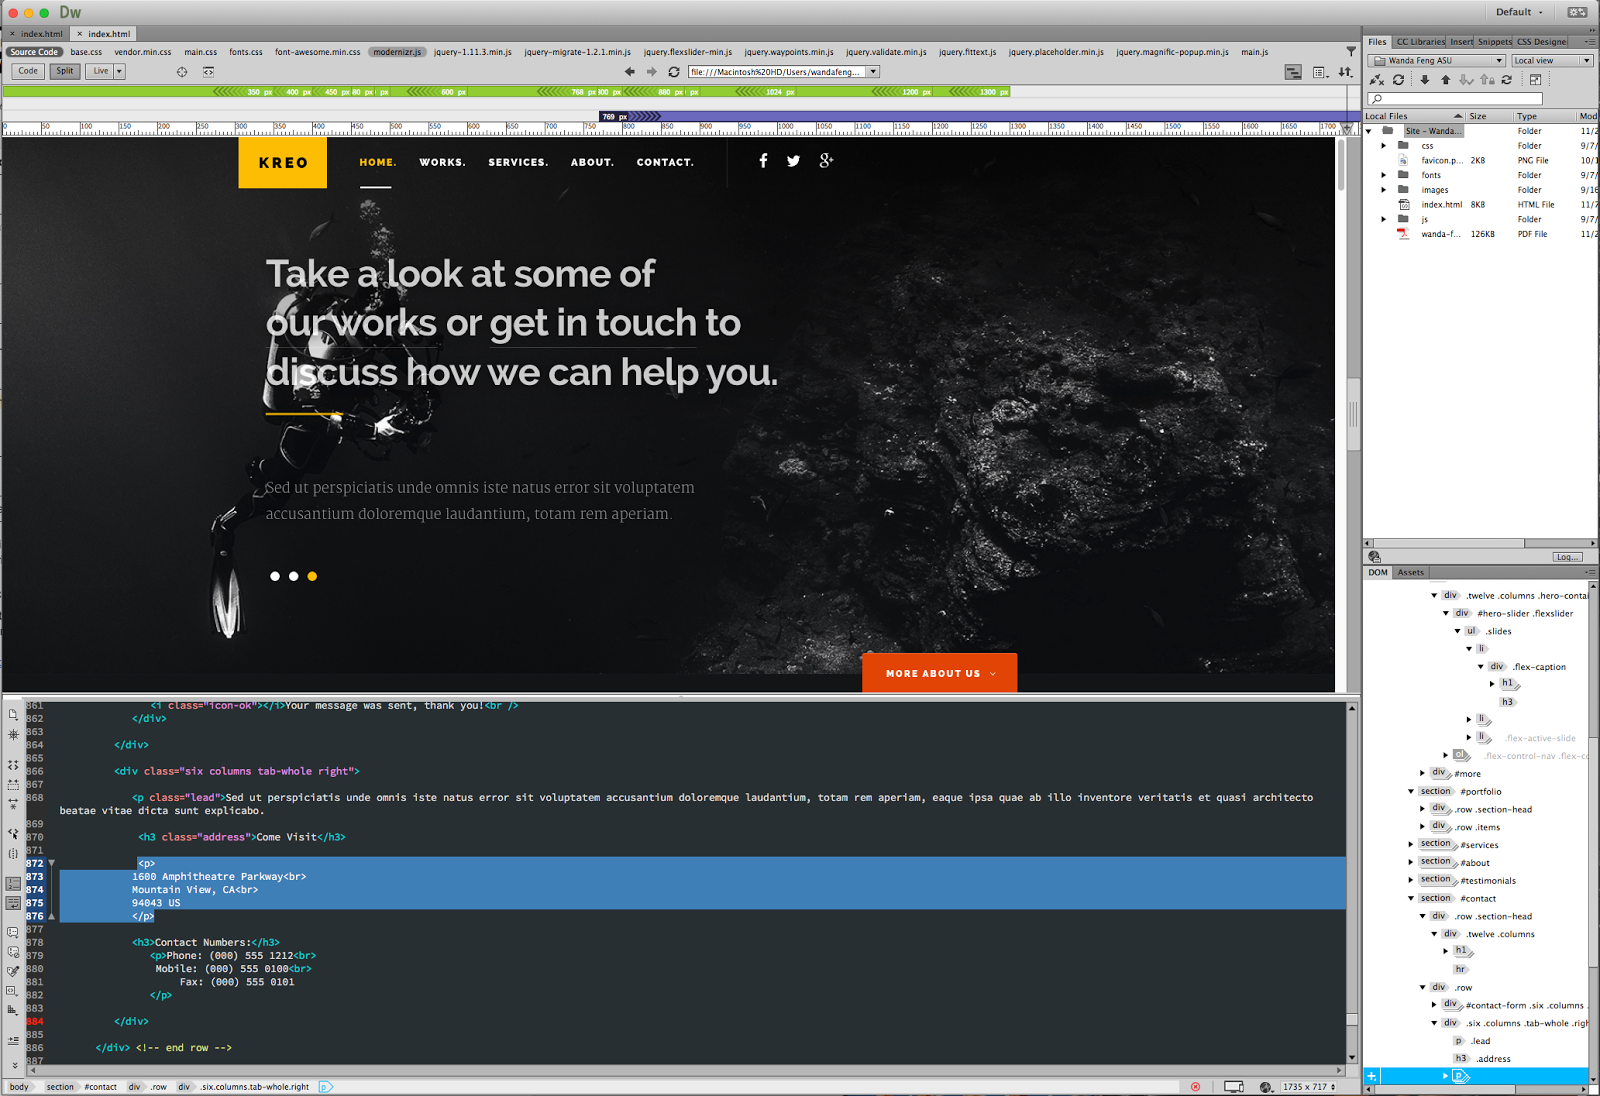
The top is the “live” view - it’s the same as what you saw when you opened index.html in your browser. The bottom is the corresponding “code”. When you make changes in the code, it will be reflected in the live view.
If you do not want to use Dreamweaver, you can use Google Developer Tools, which is free.
At this point, you can make your website look like what you want. Make sure that you save as you edit. If there are errors, the first thing you should check is whether you’ve correctly ended something (e.g.
<section>
to start,
</section>
to end).
Let’s make some edits together:
- Under basic page needs, change the page title to your name. This is the text that appears on the tab of your browser.
- As noted in part b, favicon.png is the image that appears on the tab of your browser. You should comment this part out because your ASU public site should have an ASU icon by default.
<!-- <link rel="shortcut icon" href="favicon.png" > -->- NOTE: To comment lines, place
<!--before and
-->after.
- NOTE: To comment lines, place
- The header is the very top of the webpage.
- The Kreo template has a yellow icon - Let’s comment that out.
- Under the part that says class=”nav”, you can define the sections of your website. I suggest the following: Home; About Me; Research; Contact.
- Under the part that says class=”header-social”, you can add links and icons for your favorite social media sites. Let’s comment out everything here and add LinkedIn
- The homepage background is set in main.css. First, place an original image (i.e. You either photographed or designed it. Like the HTML template, you do not want to get into sticky copyright infringement situations here.) in your images folder. Then, open main.css in Dreamweaver and change the image name on line 970
background: #0F1215 url(../images/hero-bg.jpg) no-repeat center; - On the homepage, Kreo has slides for a title.
- Let’s comment the last two slides, so the title doesn’t change.
- Change the title to your name.
- You may want to set the subtitle to a short description of what you study. Alternatively, you can change the classes from flexslider and slides to row banner and row banner and banner-text.
- At the bottom of the homepage, there’s a red box with More about us. Change this to More about me.
- Then, the sections are defined. Make sure that the section IDs to correspond to the hrefs that you defined for the header. You may want to know the following to build your sections:
- To add an image:
<img src="images/image.jpg" alt="" /> - To link a website as a hyperlink:
<a href="website url">text</a> - To link a file as a hyperlink:
<a href="images/file.pdf">poster</a> - To link a file as a button:
<a href="cv.pdf" class="button"><i class="fa fa-download"></i>View CV</a>
- To add an image:
d. Upload your website from your computer.
If you are using Dreamweaver, you can make an SFTP connection by going to Site → Manage Sites. Straightforward directions are on Adobe’s website.
To check that your files have been uploaded, you can go to your files from My ASU
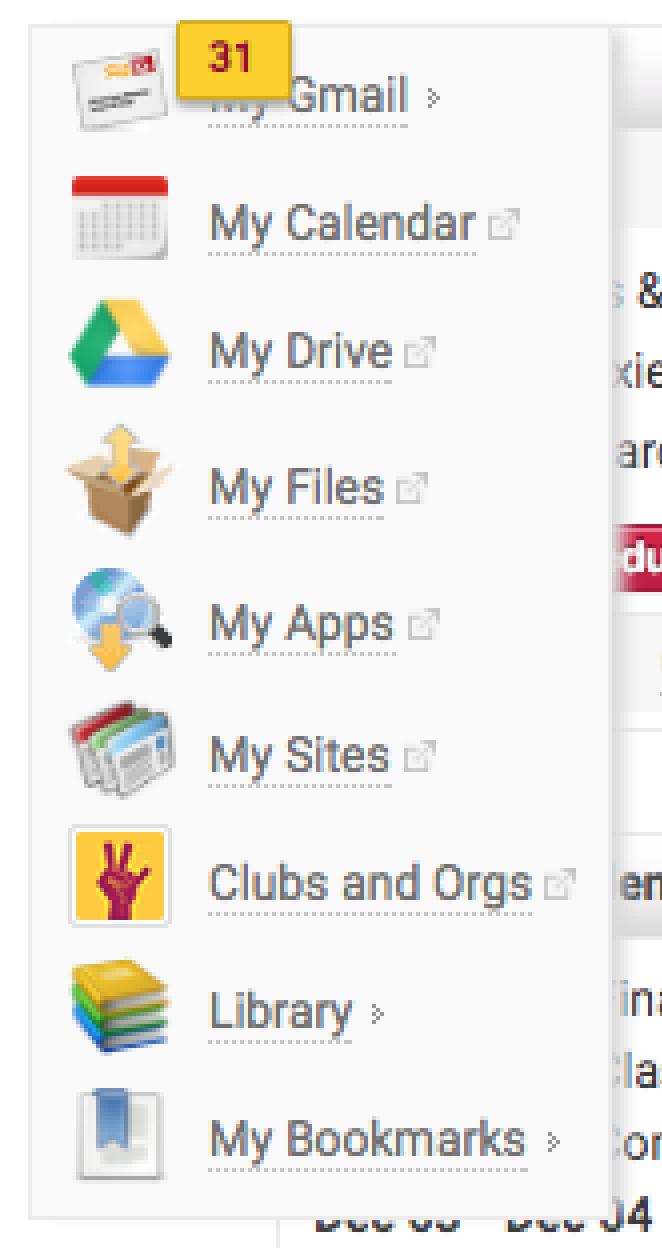
Alternatively, you can upload all of your files directly to your files on My ASU.
When you go to your files, you will see under a www folder. This is where your website lives.
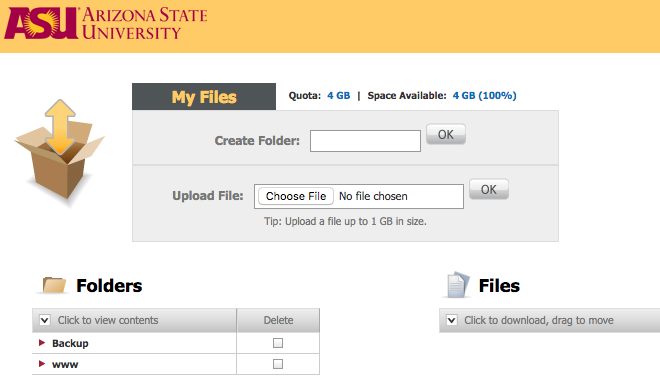
All files in your local website folder should be in your www folder. If you encounter any path errors, it is because your directory paths in your local folder do are not the same as the www folder.

About the author
I wrote this guide because I wanted to build my professional website and could not find a pre-existing guide to do so. A previous iteration of this guide may be found here.
As an Astrophysics PhD student, I have my own research to do, so I reserve the right to not respond to HTML questions should you write to me.
If you experience server errors, you may contact ASU Tech Support.
Updated 9 August 2017